
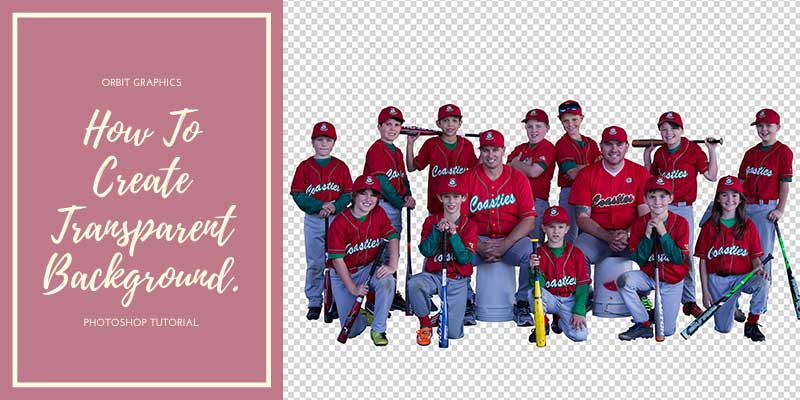
Do you want to learn about photoshop transparent background?
Creating a transparent background is a very good choice to use photographs in your best preferences. For example, your website logo, it must need a transparency background. It magnifies the opportunity to fix your website background color.
If you need to change your background color, transparent background photos can solve it. You can add any background later in these photos without re-editing or changing the photo format.
For product photography, it intensifies your options making your product more charming. You can set any background demanding on your customers. The amazing display is one of the main weapons to expand your online business. A more powerful product presentation conveys a better ROI for your business.
It is labor-intensive and time consuming to change the background from an image. But, if you have a transparent background file, you can set an appropriate background on these photographs at any time. The task is so easy.
Don’t know, how to do this?
Don’t worry. In this tutorial, we will cover everything about the photoshop transparent background. How to achieve this, and which files support for photoshop transparent background and even more like how to save transparent image, how to make background transparent in photoshop, how to remove background from a photo, remove white from image photoshop, how to change background in photoshop cc, and others
We will use the world’s most famous photo editing software “Adobe Photoshop” for making this. This is the most suitable software for photo editing. We know photoshop convert white to transparent, photoshop replace color with transparency and to learn how to make a color transparent in photoshop it is the best software.
Tools List for Making Photoshop transparent background.
Remember, your primary task of creating a transparent background is separating the background from the foreground image. You should focus on which one you want to keep and which one you want to delete from your photographs. In photoshop, some tools can help you to make this perfect.
Again, all tools won’t work fairly for all images. Depending on your image background shade, you should pick the right tool for achieving this. Otherwise, all efforts may ruin.
For example, a solid color background image and the multi-color background image is quite different. Removing hair from an object can be more complicated. So, which tool is perfect for you to depend on your image.
- Magic Wand Tools: This tool goes well on a solid color background image. It selects all the pixels in a similar color. For example, when the background is white and you will remove white background from image photoshop, all you need to do is click on white portions. This tool automatically selects all pixels in this color. It is perfect for photoshop remove white background and photoshop change white to transparent tasks.
- Rectangular Marquee Tool and elliptical Marquee Tool: For perfect rectangular or circular photos, this tool can be used. All you need to do placing it your object correctly. Then, you may follow other steps. It also works great to make color transparent photoshop and photoshop replace color with transparent images.
- Lasso Tools: Removing complex backgrounds is possible with this tool. It is a free form of selection mechanisms. You can select your object that you want to keep. For any mistake, you can also recover it. For example, you can add any part also able to minus any part. Using shift and alt key from your keyboard. As, I have mentioned before lasso tool is used for all types of complex editing, here get ideas of what you can do using lasso tool – hand transparent background, person transparent background, transparent background pattern, face transparent background, space transparent background, no sign transparent background.
Pen Tool: The best tool for creating photoshop transparent background or adding a new background for your object. We use this tool for any kind of image background removal purpose. With this tool, we create an outline around the object that we want to keep. After that, we delete the background layer.
How To Make Photoshop Transparent Background With Magic Wand Tool
To remove background from photos and making photoshop transparent background with magic wand tool is very easy. Just need to follow some steps. What are the steps? Don’t worry, we will discuss everything in this article in below.
- Make the image into layered File
- Select the product
- Adding Feather
- Mask the layer
- Save your file
Step 1: Make the image into layered File
Open the product image into Photoshop. We are using Shoe image which is in white background image. Magic wand tool perfectly worked on Solid Background.
![]()
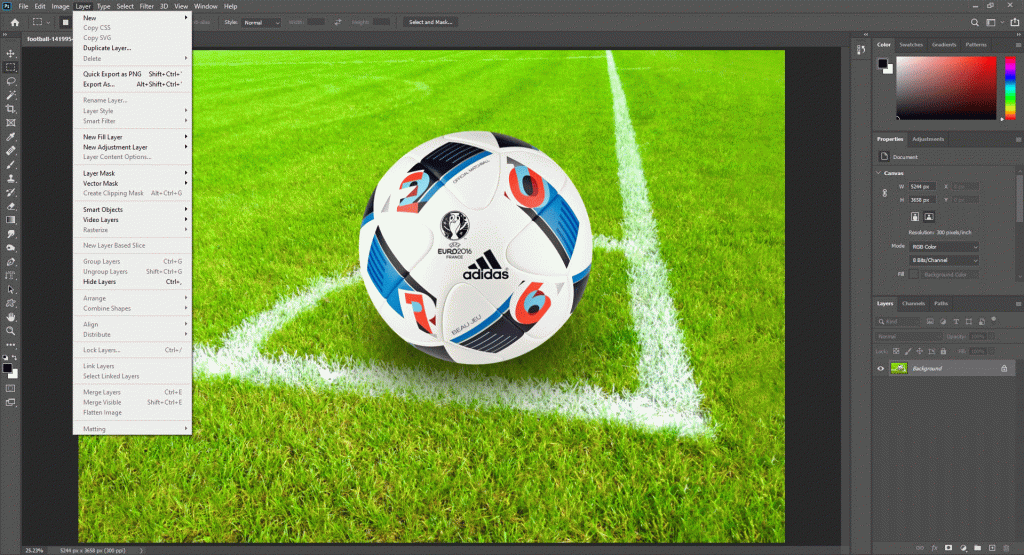
Select Layer from top row in Photoshop and go to the new and select layer from background menu. So the final destination is Layers > New > Layer from Background. And also make sure layer panel is open.
![]()
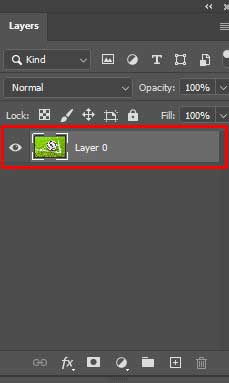
By that a New Layer dialog box will ask you to rename the layer. You can leave this as the default Layer 0, and then click OK.
![]()
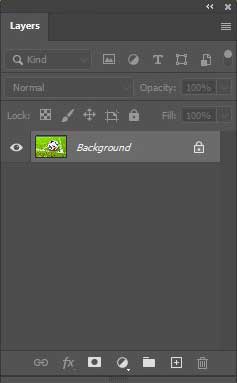
Now Background Layer is unlocked and you can edit anything from the layer.
Step 2: Select the product
From the Toolbar on the left-hand side select the Magic Wand Tool in Photoshop. In their Options bar at the top of the screen, there is an option called select subject. Click on that. Photoshop will select automatically the object from the photo. You will see a selection will made around the product.
![]()
If there any selection missing or isn’t perfect enough, you can add or remove selection using magic wand tool until perfection.
![]()
For Remove selection use ALT+Click and for adding selection use SHIFT+Click. For missing Loops in the image we have used ALT and click on the loops.
Step 3: Adding Feather
For smooth edge you should use feather and make the selection as smooth you want. For adding feather click top of the menu and Select > Modify > Feather. You can also use shortcut for adding feather. Photoshop default feather shortcut is Shift+F5.
![]()
Step 4: Mask the layer
After feather applied you should mask the layer. Layer mask is good for preserving the background. If you delete the background you can’t reverse it back. Using layer masking technique you can reverse back background and use background anytime you want.
![]()
You will see transparent background after mask the layer.
Step 5: Save your file
As the image is transparent now, you may save the image in various format as you want. For preserving image transparency you should save image in PNG format.
![]()
For future use you may save your image as a PSD file.
Video Guide For Making Transparent Background With Magic wand Tool
How to Create Photoshop Transparent Background with Pen Tool.
Pen tool is the most used tool specially for clipping path service. Don’t know what is clipping path? Read our in depth article about clipping path in photoshop. Here , we disscussed almost everything about this. Every professional photo editing service provider love this tool. Beacuse, this tool give them more freedom for selection. If you want to remove any image background, i will always suggest to use this tool. Any way, lets we begin our pen tool using topics. For making transparent of any image using pen tool, you will need to follow steps below:
Steps
- Select Pen Tool Make Sure Rubberband is enabled
- Create a path
- Use Navigator for Zoom in/ Zoom Out
- Make 300% zoom in
- Start Making the Path
- Close the Path
- Make Selection the Path
- Add Feather
- Add Layer Mask Selection
- Save The Image
let’s discuss more depth on these steps.
Step 1: Select Pen Tool
Select the pen tool from the right toolbar of Photoshop. You can also select the pen tool to using shortcut {P}. {P} is the default shortcut menu for using the pen tool.
![]()
The pen tool is the most used Photoshop tool used for the Smooth Selection technique.
Step 2: Make Sure Rubberband is enabled
After selecting the Pen tool, must check if their rubber band is enabled or not. Without enabling the rubber band, you can’t see the path thread.
![]()
When you enabled the rubber band, you will see the tread when you clip the product.
Step 3: Create a path
For Creating a path, you should create a path from path palate.
![]()
Keep Select the Path layer from the path palate for avoiding the working Path and losing the Path.
![]()
Step 4: Use Navigator for Zoom in/ Zoom Out
If you don’t have the navigator panel opened in your Photoshop, then active the panel.
![]()
Go to the top bar and select windows>Navigator. Now you will see the navigator panel will be visible on your Photoshop.
Step 5:Make 300% zoom in
Make the image 300 percent zoom in. You can zoom in 3 Way in Photoshop. Number 1, Using navigator panel
![]()
2nd option is to Use Ctrl + Space and click on the mouse. And for The 3rd option, Use Ctrl and {+} from Keyboard.
Step 6:Start making the Path
After zoom in on the image, start creating Path around the object. Clip out the object in which you wanted to make a selection.
![]()
Make sure clip the product 1 px inside, So the background will be out of selection.
Do not cut much of the object. Remember, for smooth selection; you should maintain the Path quality. For Quality, Please do practice regularly.
Step 7: Close the Path
After Creating Path around, the object must close the Path for final finishing.
![]()
Step 8: Make Selection the Path
Select the Path using right click on the mouse. There is an option showing Make Selection. Click on that option.
![]()
It will make the selection of the product.
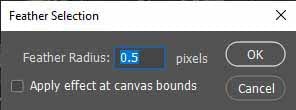
Step 9: Add Feather
Add some feather to your selection. You can add feather by default shortcut menu Shift+F6 in Photoshop cs6 or later version. You can add a feather to the selection from the top menu by Select>Modify>Feather.

Make Radius 0.4-0.5 of the feather. Basically, Professionals use 0.5 Feather for Smooth Edge.
Step 10: Add Layer Mask Selection: – In the layer palate there is an option called Add Layer Mask. Click on this option
![]()
There will be created an automatic mask of the object. You should always use the mask option. With Add Layer Mask, you can always preserve the background. So in future, if you need, you can retain the background by disabling the mask.
Step 11: Save the image
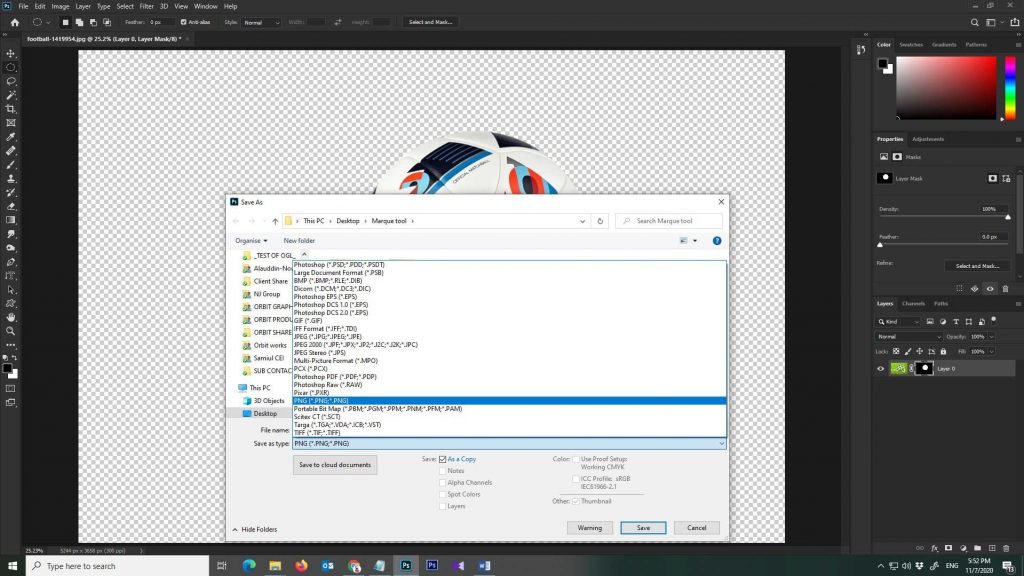
Save image with transparent background photoshop as you wanted. You can save the image from the top menu bar File>Save As
![]()
To preserve image transparency, save png with transparent background.
![]()
For saving the Path and layer, save the image in PSD format. PSD is the Photoshop default format.
Video Guide For Making Photshop Transparent Background With Pen Tool
It’s time to practise it. Download the image from here and start practising.
How to Create Photoshop Transparent Background with Elliptical Marquee Tool
Steps
- Make the image into a layered file
- Make Selection
- Add Feather
- Add Layer Mask
- Save The Image With Transparent Format
- Save As PSD
Step 1 :Make the image into a layered file
Open your Layers panel. In default, this panel rests to the right of your application window. But if you don’t find out it on your Photoshop panel, you can get access from the top dropdown menu of Photoshop Window > Layers.
.
![]()
By Clicking on the layers, there will be an open layer panel.
Select Layer from the top row in Photoshop and go to the new and select Layer from the background menu. So the final destination is Layers > New > Layer from Background. Please make sure the layer panel is open.
You can also make a layered file by shortcut—just double-click on the Background layer. A New Layer dialogue box will be asking you to rename the Layer will appear. You can leave this as the default Layer 0 or your own name choice and click OK.
Now you’ve unlocked the Layer. By Unlocking the Layer, you can delete anything from the background.
Step 2: Make a selection.
Click on the Elliptical Marquee Tool. You will find it among the Toolbar on the left-hand side of Photoshop. We will use the Elliptical Marquee tool because our image is in round shape. If the images are in a square shape, you should use the Rectangular Marquee tool instead of the Elliptical Marquee tool.
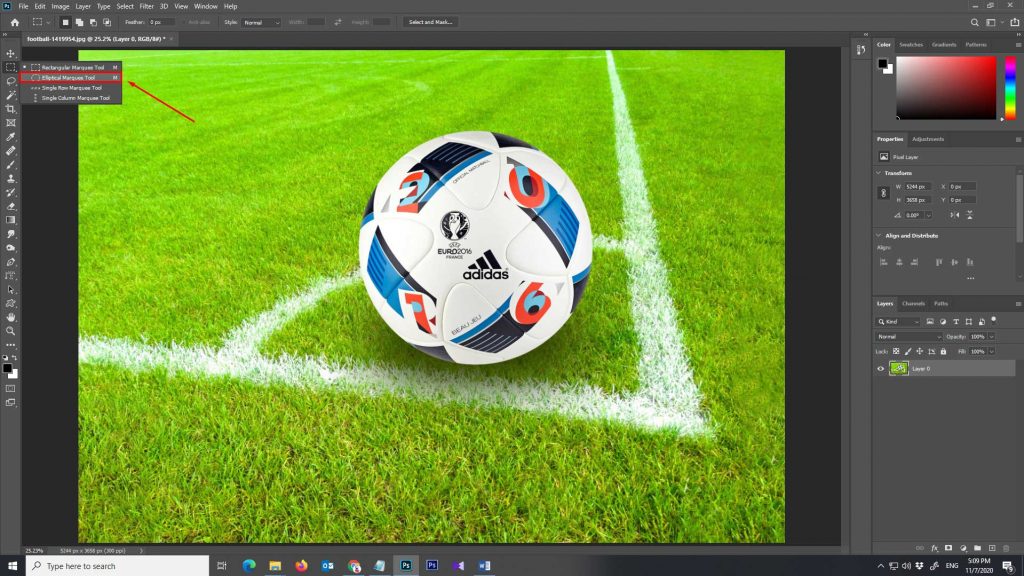
By drag, the tool around the image, your images will be in selection. Now you will see the selection as “marching ants” surrounding the selection.
![]()
Step 3: Add Feather
Add a feather to your selection. By adding feathers, your selection edge will be smoother than regular selection.
You can add a feather to the selection from the top drop menu by Select>Modify>Feather. Also, you can add feather by default shortcut menu Shift+F6 in Photoshop cs6 or later version.
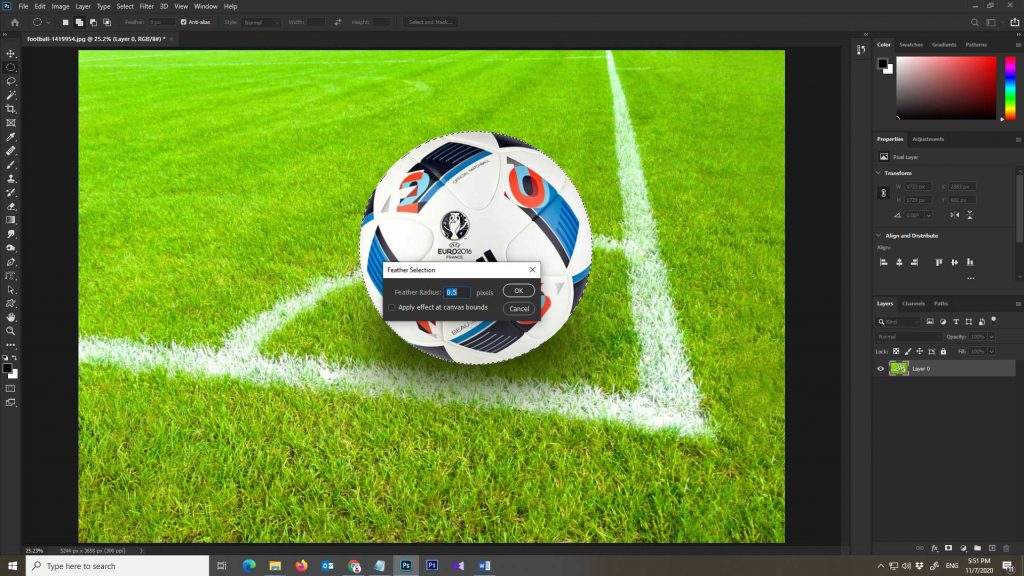
Make feather Radius 0.4-0.5 of the feather. Basically, Professionals use 0.5 Feather for most of the images.
Step 4: Add Layer Mask
In the layer palette, there is an option called Add Layer Mask. Click on this option.
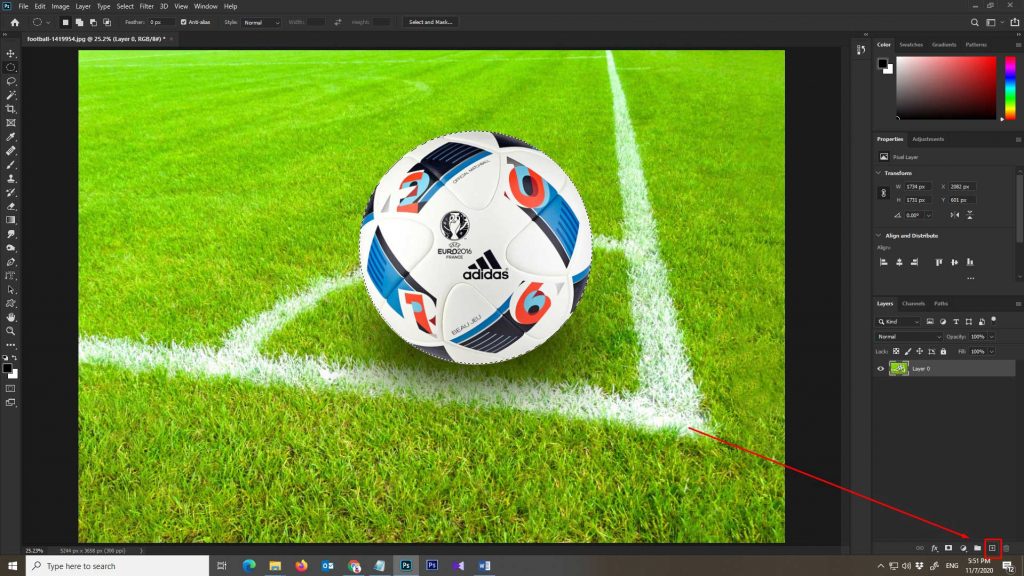
There will be created an automatic mask of the object. We suggest using the Add Layer Mask option. With Add Layer Mask, you can always preserve the background. So in future, if you need, you can retain the background by disabling the mask.
![]()
Now your image is transparent.
Step 5:Save the Image with Transparent Format.
You can save the image from the top dropdown menu bar File>Save As. Also, you can save the image with shortcut Ctrl+S or for Save A… Ctrl+Shift+S.
Please make sure to save the image in PNG format. If you save the image in jpg format, transparency will not be preserved.
Step 6:Save As PSD
For future use, save a PSD file. With this default Photoshop format, you can use and edit images quickly.
Video Guide For Making Photshop Transparent Background With Elliptical Marquee Tool
For practice Here is the image link: –
Video Guide For Making Photoshop Transparent Background With lasso Tool
Benefits of Photoshop Transparent Background
If you want to learn how to remove a background in photoshop, how to change background in photoshop, how to remove the background from a picture, how photoshop make color transparent, how to remove white background in photoshop, and others – you need to learn the process of making a transparent background. Here I will shortly discuss some major advantages of using photoshop transparent background.
Transparent background shows up different possibilities of using the photo.
You can easily use a transparent photo to cut and paste it.
It is appropriate for using on e-commerce sites as you can make a color transparent photoshop.
You can use one transparent image in many resources but make sure to keep the primary transparent file save.
It also allows you to remove a background from an image and remove white background from logo photoshop.
In the case of making logo, it is more helpful as photoshop turn white into transparent and create photoshop logo transparent.